
Page 72 - Read Online
P. 72
Page 4 of 8 Göksel et al. Plast Aesthet Res 2019;6:17 I http://dx.doi.org/10.20517/2347-9264.2019.12
Figure 4. Clear visualization of the perichondrium with the help of endoscope
Figure 5. Perichondrial flap
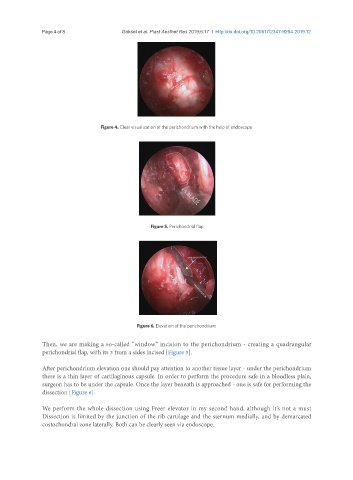
Figure 6. Elevation of the perichondrium
Then, we are making a so-called “window” incision to the perichondrium - creating a quadrangular
perichondrial flap, with its 3 from 4 sides incised [Figure 5].
After perichondrium elevation one should pay attention to another tissue layer - under the perichondrium
there is a thin layer of cartilaginous capsule. In order to perform the procedure safe in a bloodless plain,
surgeon has to be under the capsule. Once the layer beneath is approached - one is safe for performing the
dissection [Figure 6].
We perform the whole dissection using Freer elevator in my second hand, although it’s not a must
Dissection is limited by the junction of the rib cartilage and the sternum medially, and by demarcated
costochondral zone laterally. Both can be clearly seen via endoscope.